Nature Bookmarks
Capture Nature and Memories with these Beautiful bookmarks. This art project is one you’ll want to keep around!


Supplies
- Self-Laminating Sheets
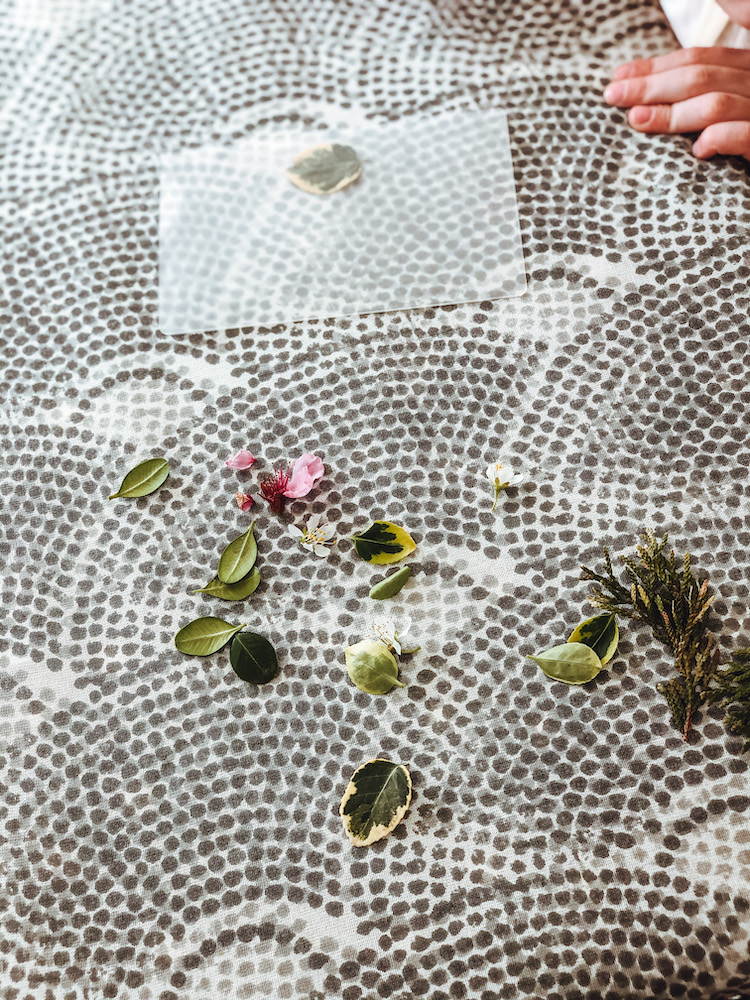
- Small, Flat Nature Items
- Iron (& Cotton Fabric to use as a protector)
- Hole Puch
- Ribbon or Long Grass
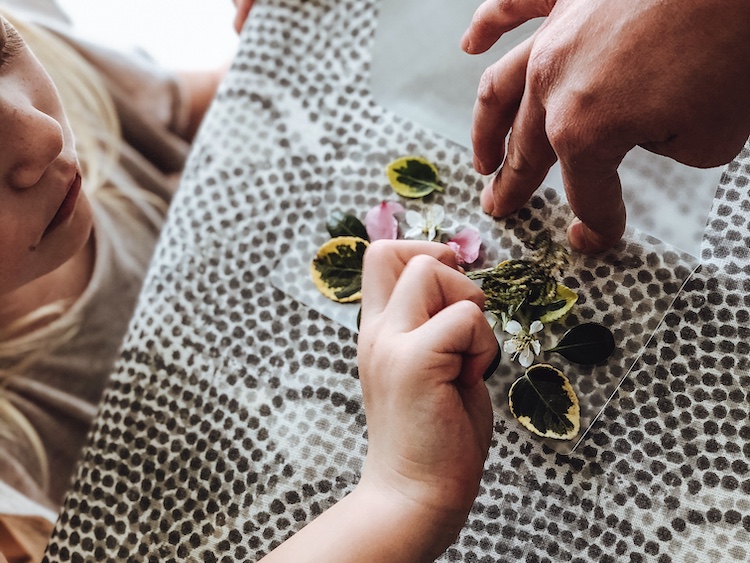
Let this activity be child led – Take a nature walk around your yard or neighborhood. Find small nature items that grab your child’s attention. Blossoms off a flowering tree, small leaves from a shrub, blades of grass, even weeds with pretty leaves! Talk with your child about nature and what their favorite parts are. Discuss the shapes, sizes, and colors you find along your way.
Finding Ideas
1. Since your bookmarks are relatively small, encourage your child to look for small items-smaller than a dime, or long and skinny items that will fit inside their bookmark.
2. You want your items to be as flat as possible, or thin enough to be squished flat.
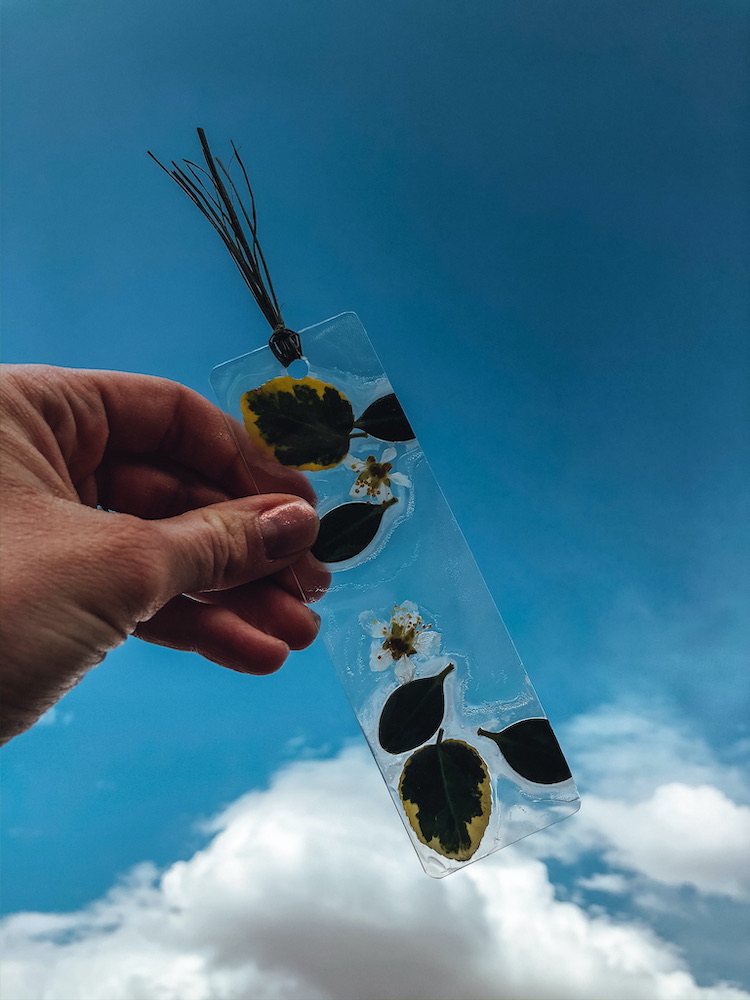
3. If using fresh flowers right away to create your bookmark, you will see some condensation form around them inside the seal. You can notice it in my bookmark pictures. This doesn’t bother me- I think it adds to the natural, playful look!
4. If you would like a more professional polished bookmark, you may consider taking this opportunity to talk with your child about pressing flowers! This would give your blooms time to dry and flatten and be perfectly ready to use in your bookmark!
5. A Variation of this activity if done in Winter: Make your own small paper flowers or leaves. Have your child watercolor a picture, let it dry, and cut it into small flower or leaf shapes (or whatever shapes you want!) Use these items in place of the nature items and create a truly one-of-a-kind bookmark!


Laminating
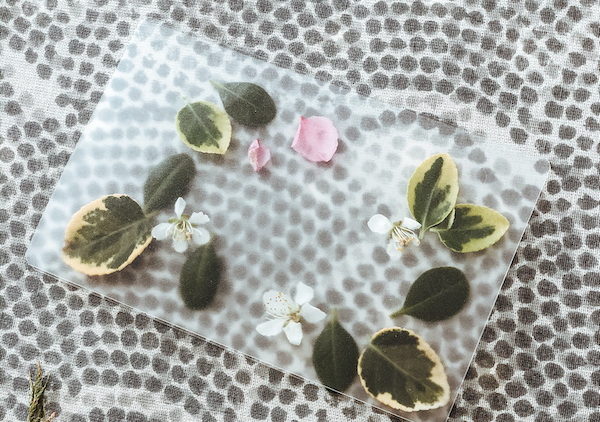
Once you’ve collected and prepared all the nature items to use in your bookmark, you simply open your self-laminating sheet (included in your Canny Pack! We use 10mil laminate pouches 3.5″x5.5″).
Place your nature items inside the sheet, remembering that you’ll be cutting down the middle when you’re finished to create 2 separate bookmarks.
Slip Ups
- Grown up, your job can be to hold open the pouch while your child places their flowers and leaves. This will help avoid some frustration of a slippery and wiggly pouch!
- Try to leave some empty space between your nature items to give it that special see-through look!

Hot Iron
Now, the magic. This step requires a grown up! Grab your iron and heat it up to its max heat setting (no steam). Find a cotton piece of fabric to lay over your bookmark as you iron (pillowcase, apron, shirt, etc). Once your iron is hot, and your fabric is covering your hard work, start ironing over top of your bookmark.
Once your sheet is bonded together, you’ll cut your sheet in half, revealing TWO bookmarks. Punch a hole in the top and string some ribbon through, then read away!!

Advice
- Apply lots of pressure! Your iron is heating up the glue inside the laminate pouch, but your pressure will provide a good seal around your nature items and bookmark edges.
- Iron from both sides of the laminate pouch. Flip it over mid ironing, and iron until you can see the good seal of the pouch!
- If you are seeing bubbles or unsealed sections of your laminate pouch, try using direct pressure on those points immediately after removing the iron (Use a rolling pin, the back of a pen, a spoon – whatever you have available – and gently apply pressure around the edges where you are seeing bubbles. Again, this is really up to your personal preference- I always love the unpolished look of a child craft, but work with your child and create the final product that speaks to you!
Once your sheet is bonded together, you’ll cut your sheet in half, revealing TWO bookmarks. Punch a hole in the top and string some ribbon through, then read away!!


