Pattern Block Flowers
Design your own plants and pictures with this geometric, problem solving, creative task!
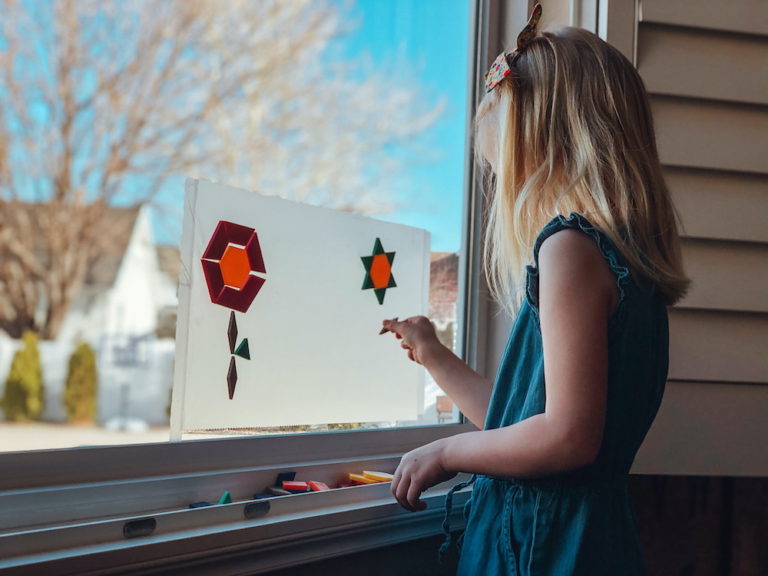
Kids are constantly learning- Soaking in new knowledge about the world around them.
That’s why we LOVE sneaking learning opportunities into play at every turn. The best learning is natural learning- when your child is soaking in truths about the world and not even realizing it! 🙌
Pattern blocks are a great example of this! These pattern blocks come in a variety of shapes and colors, and they perfectly fit together in stunning and interesting ways. These blocks inherently teach your child skills about geometry, problem-solving, and spatial relationships in general. What a BONUS that your child will love playing with them.
I’ve had this activity up on my window for 3 days now, and it’s still the #1 spot I find my kids playing each day. It seems so easy that you may be doubting its appeal… but I’m telling you- TRY IT!
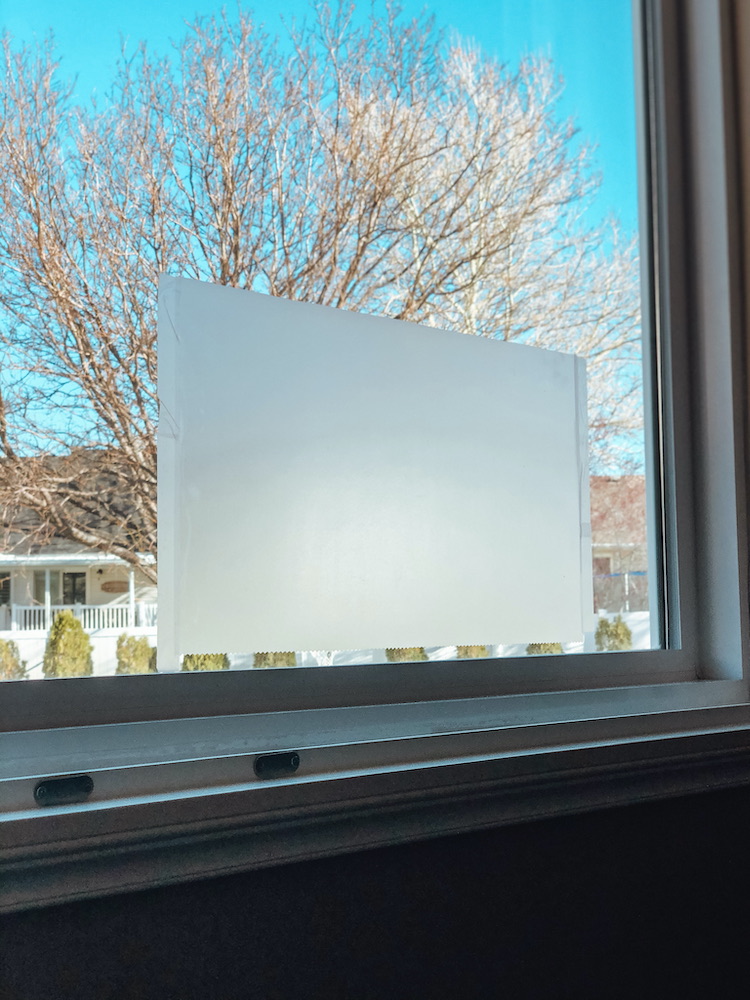
Here are the Steps
Are you ready?
- Tape contact paper to a low window that your child can reach
- Give your child their pattern blocks
That’s it.
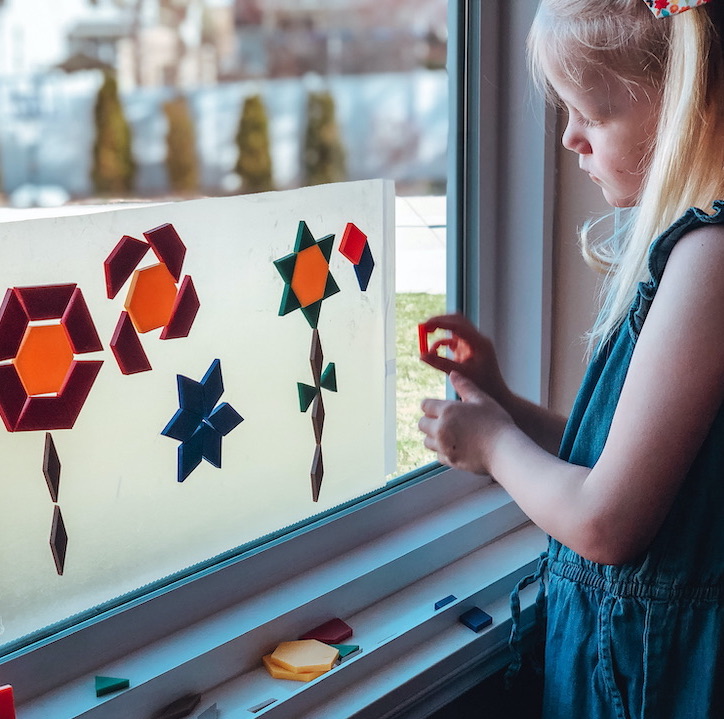
That’s literally it. I put one block up on the contact paper and my 4 year old’s mouth dropped open. That was all she needed to be ON BOARD and ready to experiment on her own! If you’d like to foster additional interest, there are lots of tangram patterns that you can find online. As your child learns and grows, you can introduce more difficult patterns for them to mimic. Here are a few of our favorite “Plant” patterns for you and your child to try out this week.

1. Have your child stick the laminated picture into the jar and push it up against the side
2. Grown ups: Hold the picture in place while your child fills the jar with dirt. Pack it down gently as you go. You want the dirt to be firm, but still soft enough to allow space for the roots to grow easily down through the dirt. Fill the dirt up to the top of your child’s head!
3. Next, your child will sprinkle the grass seeds on top of the dirt. More seeds will result in more hair (grass) growing! Be sure to help your child get seeds evenly over the top of the dirt.

4. You can cover the seeds with another thin layer of dirt, but this step is not necessary. I like to keep the seeds on top so my child can see them begin to sprout and grow!
5. Put those fine motor skills to work by having your child use a spray bottle to water the grass seeds! The spray bottle helps keep the soil from getting overwatered by zealous kiddos!
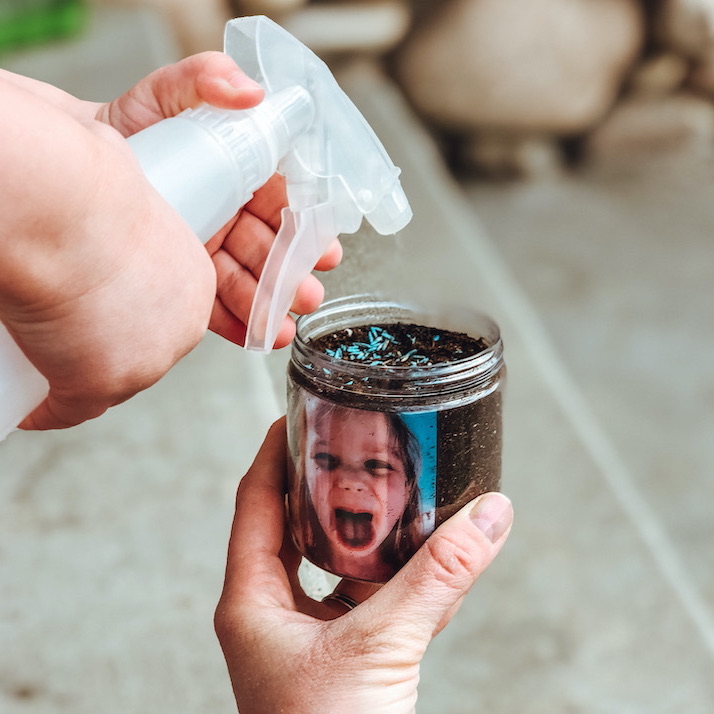
6. As you water your seeds, look at your jar from the side! Do you see the water line forming? This can help you see if your grass has enough water, or if you can continue to spray it. What a handy visual for learning gardeners!! Help them understand how plants want to have just enough water: not too much, and not too little.

7. Place your new plant in a sunny place and watch the new green hair start growing out of your kiddo’s head!!
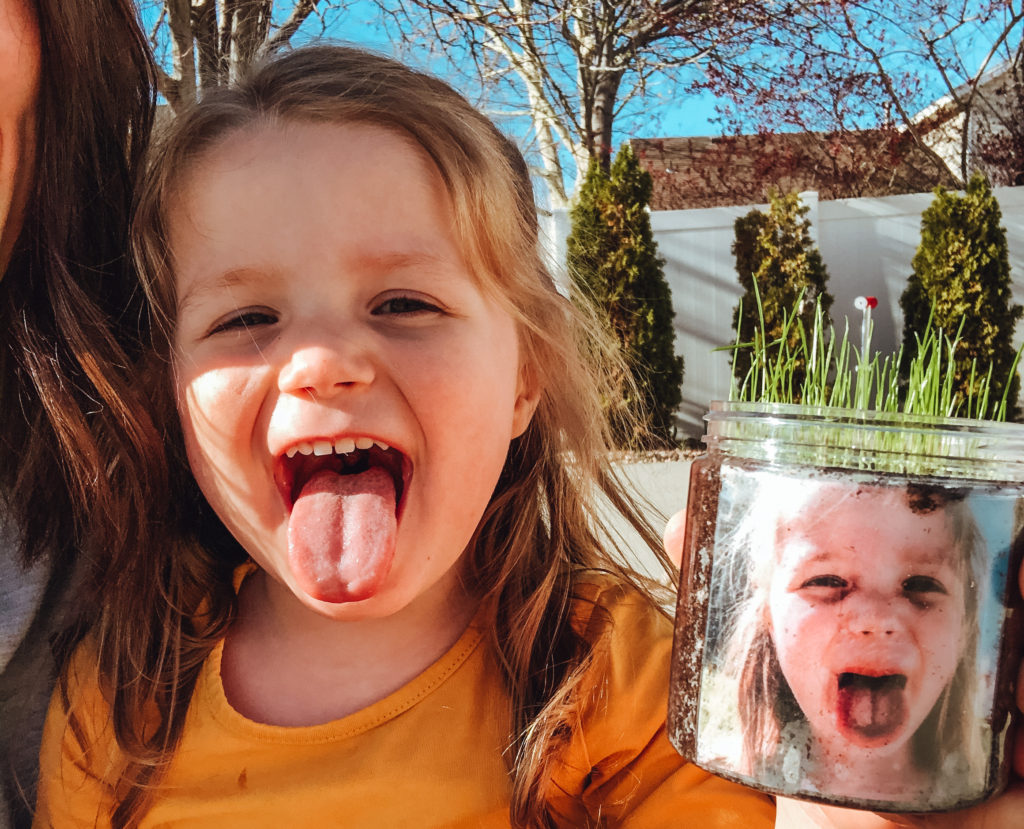
Check in on your hair growth every day! Celebrate the growth you see and talk about it with your child!
- Did you know that all plants start from seeds? What part of an apple would you plant to grow an apple tree?
- What are the things a plant needs to grow strong and healthy? Dirt (nutrients), Sunlight, and Water. What do YOU need to grow strong and healthy? What is the same? What is different?
- Look at the seed sprouting! Plants start so small. Do you think it will stay this small? Do you ever think it will grow so big you’ll need to trim it?
- When I was just barely born, I was a small baby person just like this sprout is a small baby plant! Were you ever as small as this plant? No, but were you ever a small baby? What do you remember about being a baby? How did mom and dad have to take care of you? What are you doing to take care of your plant? Does it make you feel like a mom or dad?
- Wow- Your plant makes it look like you have short, straight, green hair!! Is that what your real hair looks like? What is the same? What is different?
